


Free Rewards member
Ask Sammy
3 text questions plus 2 separate photo assists every week.
Join Rewards
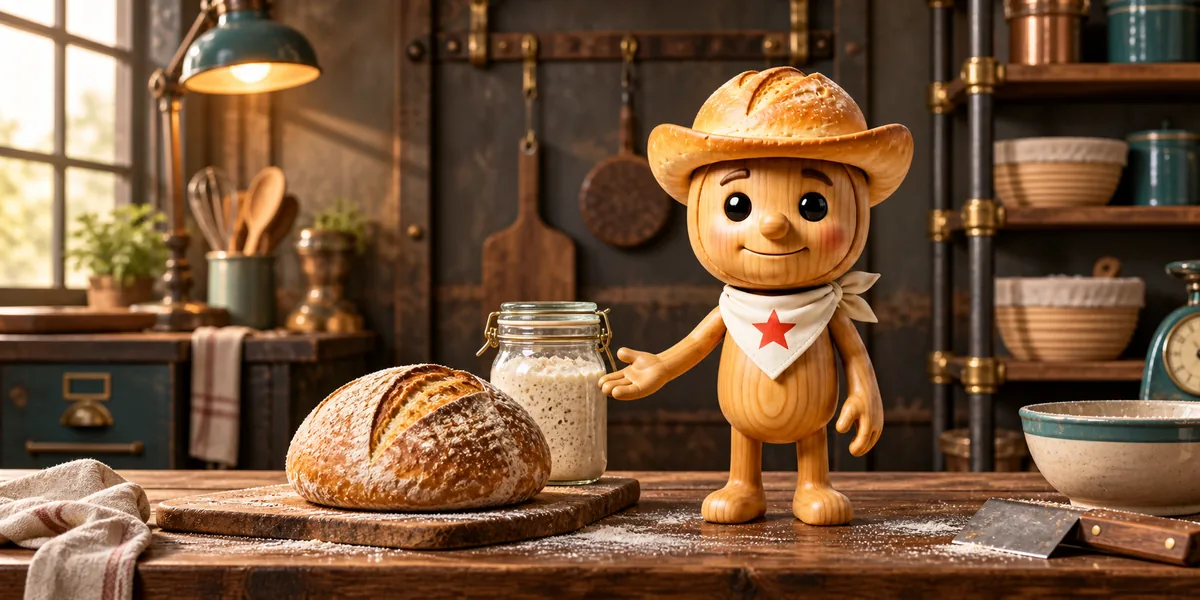
Sourdough Sammy is here for a little encouragement. Your partner, from starter to slice.
Get practical help from starter to slice. Add a photo of your starter, dough, crust, or crumb when seeing the bake will help.
First starter or hundredth loaf, you’re welcome here. Tap Sammy when you’d like some company.
Rewards membership
The guide, calculators, charts, and timers stay free for everyone. A free Rewards membership unlocks 3 text questions plus 2 additional photo assists each week.
Free Rewards member
3 text questions plus 2 separate photo assists every week.
Join RewardsFree baking tools
Use baker’s math, cups-to-grams conversion, and persistent baking timers without an AI allowance.
Free quick guide
Review starter, fermentation, and bake-record tips whenever you need them—no sign-in required.
Future subscriber plan
Send Vintage Sourdough Bakery a request. We’ll reply by email with a timeline for when expanded usage may become available as a subscriber plan. This is only a request—there is no charge and it does not start a subscription.
Usage counters record that a feature was used, but never save your question text, chat answer, filename, or uploaded photo.
From the very first jar · Free baking guide
Hey, partner. A little flour, a little water, and a steady routine—that’s where your loaf begins. Make a starter, help it grow, or wake up a dried one. We’ll take it one feed at a time.
No sign-in needed. Reading these guides and watching Sammy never uses your AI questions or photo uploads.
A kitchen scale, clean roomy jar, loose-fitting lid, wooden Spurtle or spoon, flour, and drinking water. A rubber band or washable mark helps you see the rise.
Aim for a steady 70–78°F (21–26°C), away from direct heat. Leave the jar loosely covered—not clamped airtight—while it ferments.
Starter is a living mix of flour, water, wild yeast, and helpful bacteria. Feeding it simply means giving that community fresh flour and water.
A timer reminds you to check. It does not decide when your starter is ready.
Choose your starting point
Apron’s small-batch starter recipe, measured in grams. Start with flour and water only; no sugar or packaged yeast is needed.
Stir 50 g whole wheat or rye flour with 50 g lukewarm drinking water in a clean jar. Scrape down the sides, mark the level, and loosely cover. Leave room for it to grow.
Following Apron’s method, give it a stir and wait; no feed yet. A few bubbles or an early burst of rising may appear. That first burst does not mean it is ready for bread.
Keep 50 g of the mixture and remove the rest. Add 50 g flour and 50 g water. Stir, mark the level, and loosely cover again. Unbleached all-purpose flour works for these feeds.
About every 12 hours, keep 50 g starter and add 50 g flour plus 50 g water. Check the level and bubbles between feeds. A quiet patch is common—keep going, partner.
Keep feeding until it reliably doubles in roughly 4–6 hours after a 1:1:1 feed in a warm room, across several feeds. Look for bubbles throughout and a pleasantly yeasty, tangy smell. A new starter may need two weeks or longer; the calendar alone cannot tell you it is ready.
Discard means the portion you remove before feeding, so the jar does not keep growing. Throw away the discard from this early developing stage. Do not taste raw starter or raw flour mixtures.
Keep a small amount of starter, add fresh flour and water, stir, mark the new level, and loosely cover. A feeding ratio lists starter : flour : water, by weight—not by cup volume.
25 g starter + 25 g flour + 25 g water
A simple regular feed for an established starter. Watch its rise and fall.
25 g starter + 50 g flour + 50 g water
More food for a starter that is peaking too early between feeds.
10 g starter + 50 g flour + 50 g water
A longer build for a strong starter. Try it when you know your kitchen’s timing.
5 g starter + 50 g flour + 50 g water
An optional larger feed for an established culture—not a shortcut for a weak or brand-new one.
Equal flour and water weights keep an established starter at “100% hydration”—plainly, as much water as flour. More food usually takes longer to use up. Warmth, flour, and starter strength change the timing; a ratio does not guarantee a particular flavor or number of hours.
Need 100 g for bread? Keep 25 g starter and feed 50 g flour + 50 g water. That makes 125 g. Once it is ripe, weigh 100 g into the dough and keep the remaining 25 g to feed again. Always save some for the next bake.
For a counter-kept starter, a morning-and-evening check is a good routine. Feed around its peak or just as it begins to fall; adjust the amount of food if it runs out long before your next check.
Keep an established starter on the counter for frequent baking and regular feeds. For less frequent baking, feed it, let fermentation get started for an hour or two, then refrigerate. Plan a weekly feed. Bring it out ahead of baking and repeat room-temperature feeds until its usual strong rise returns.
New starters often go quiet after their first burst. Stay with the routine, check the temperature, and try a little whole wheat or rye in the flour. Measure carefully. Don’t rush a weak starter into a huge feed.
A gray or brown alcoholic liquid on an established starter can be a sign it is hungry. With no spoilage signs, stir it back in or pour it off, then feed. Water separation in a new starter can have other causes; check your measurements and progress too.
If you see fuzzy mold, pink or orange streaks, or notice a rotten smell, throw away the whole starter. Do not scrape off the top and keep the rest. Clean the jar and tools thoroughly before starting again. Never taste it to check whether it is safe.
Use a clean utensil each time, keep the jar rim clean, and leave plenty of headroom. Established, healthy discard belongs only in recipes that will be fully cooked.
Have dried starter flakes? Follow the maker’s packet instructions first. For plain dried sourdough starter with no instructions, this small-batch method is adapted from King Arthur Baking.
Adapted from the Apron starter guide, with added care and revival guidance. Apron · Care reference · Troubleshooting reference
Baker’s math
Hydration
70.0%
Starter
20.0%
Salt
2.0%
Total dough
960 g
Percentages use flour as 100%. Starter flour and water are not split in this quick view.
Weights
Grams make sourdough repeatable. Use this as a practical estimate when translating a volume-based recipe.
Estimated weight
130 g
130 g per cup
Bake tools
Times are guides. Watch the dough, note its temperature, and adjust to your kitchen.
Your baking partner, in action
Pick a clip below and bake along, partner.
Choose your clip · Swipe the row on smaller screens
01
A healthy starter rises predictably after feeding. Track the ratio, flour, water temperature, room temperature, and time to peak.
02
Recipe times are estimates. During bulk fermentation, look for a smoother, aerated dough with visible bubbles and a rounded edge.
03
Record the flour, hydration, temperature, timing, and result. Change one variable on the next bake so the lesson is clear.